
Back to Loco of the Month homepage
Back to Sidestreet Bannerworks
.
March 2009
Merlin/Beck 0-4-4-0T revisited
by Marc Horovitz
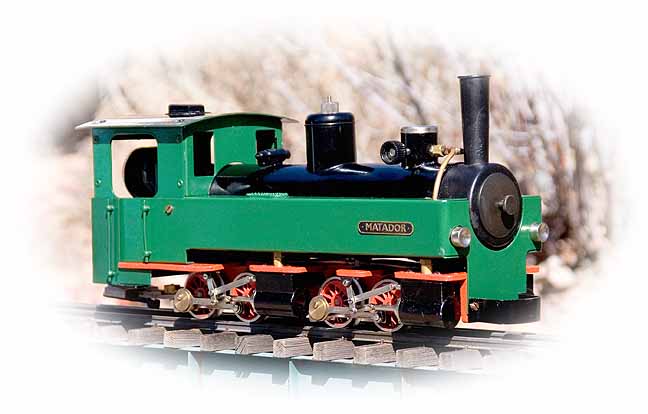
This time I'm doing something a little different with the "Locomotive of the Month." Instead of posting a new engine, I'm having another look at one that was previously posted, but that had some problems. I'll discuss the problems and the ultimate solutions. All the photos are new.
Also new this time is a movie of the locomotive in action (scroll down), thanks to the acquisition of a cheap camcorder. I hope to make this a regular feature of the "Locomotive of the Month."
The engine
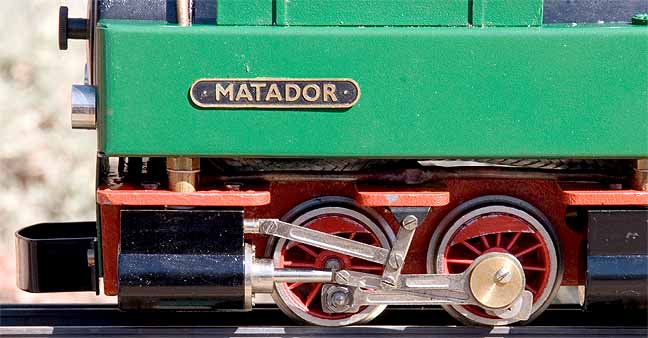
Back in July of 2001, I took a look at the Merlin/Beck 0-4-4-0T. Click here to read the whole story. Briefly, the engine was originally planned by Beck of Germany, but they went out of business before the locomotive could be produced. All of the parts were bought up by Tom Cooper, then of Merlin Locomotive Works, who began making a line of engines based on Beck parts and technology. Matador was one of them. Proposed as Bertha by Beck, Matador was produced by Merlin in much the same form that Beck had originally intended.
The problem
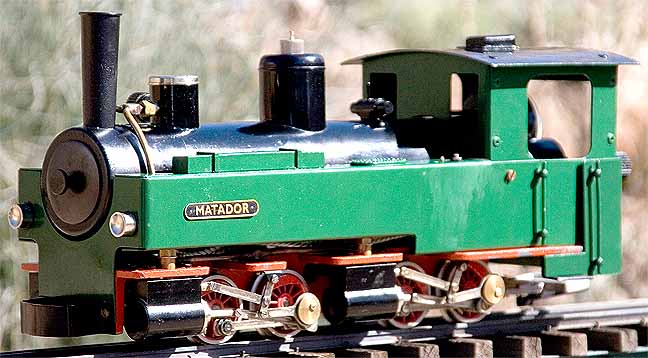
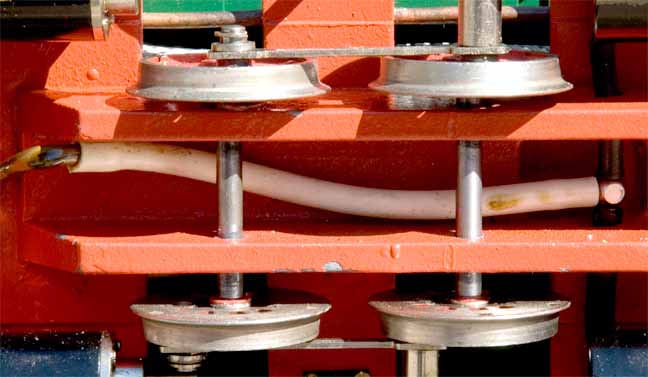
Although it resembles a Mallet, this locomotive is not articulated. It has a massive, cast frame that was simply drilled in four places for the axles to slip through. There's about a quarter inch of side-to-side play in the axles. This, combined with relatively loose-fitting valve gear, lets this big engine go around curves as sharp as two-foot radius.
As I reported in 2001, the front two axles had seized in their bearings and the wheels would not rotate. I had initially suspected rust from the cast-iron frame. However, when I got the engine out of mothballs for another look, I discovered that the frame was not iron at all. I don't know what it is, but I suspect it's a zinc alloy. The axles seized because the metal around them expanded.
I had also discovered an apparent leak in the gas line. However, this time, that problem failed to materialize.
The solution
This was a knotty problem. The axle bearings were simply holes in the frame. When it was assembled, the axles were slid into their holes, then the wheels pressed on. The only way to get at the problem was to remove the wheelsets.
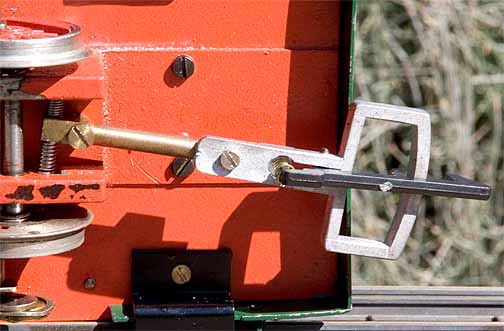
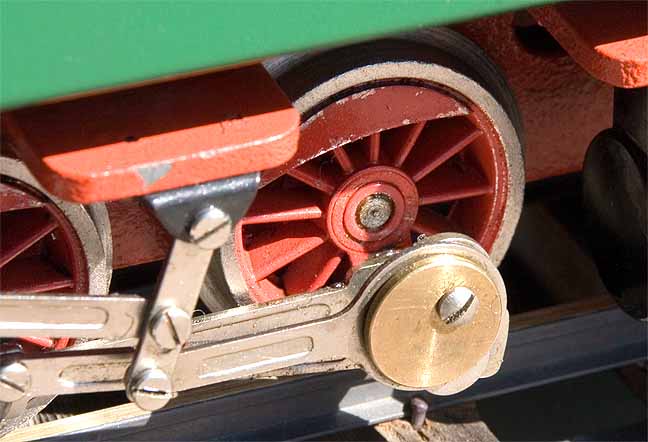
I disassembled all of the valve gear and rods on the front engine by undoing the various screws and E-clips. This was no problem. I did not have a wheel puller that I could use to get the wheels off their axles. However, I found that the wheels had plastic hubs, thus insulating the axles so the engine could be run simultaneously with electric trains without shorting them out. This was promising.
I found a pin of the appropriate diameter and, placing the engine on its side on the bench, put one end of the pin on the second axle end and gave the other a smack with a hammer. It was quickly evident that this solution would work. I soon had one wheel off the rear axle and the axle tapped out through its bearing holes.
The front axle, however, could not be treated the same way because the cylinder was in the way. This necessitated removing the body (not a big job) so that the cylinder on one side could be removed. Once this was done, the front axle came out as easily as the rear.
With the axles free of the frame, I was able to measure the axle-hole diameter and, using the next-size-up drill, open out the holes a few thousandths of an inch in the drill press. I dropped the axles back into place, where they now rotated freely. The axle ends were knurled, which left impressions in the plastic hubs. This was a good thing. By carefully lining up the knurls and their impressions, I was easily able to re-quarter the wheels. Using my bench vise, I carefully pressed the wheels back onto the axles, taking care to gauge them properly. They spun smoothly and truly.
With that done, I reattached the cylinder and the body and I reassembled the rods and valve gear. A quick test under compressed air suggested that all was well. Both steam motors ran at equal speeds in both directions. Time for a track test.
The run
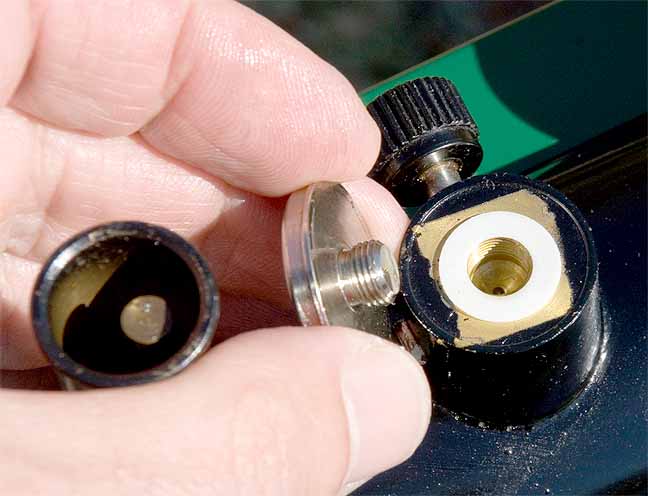
I prepared the engine in the usual manner, putting a few drops of steam oil in the lubricator atop the dome. I filled the boiler with water and the tank with gas and lit it up. The fire was balky and was not behaving well at all. Something was up and I suspected a partially clogged jet. I removed the jet and blew it out, front to back, with compressed air. I could then clearly see the hole.
I lit the fire again and this time all was well. The flame popped back to the burner, where it roared happily. Pressure came up in due course. I opened the throttle (the knob on the dome) and pushed the engine a few feet to clear the oil and condensate. Then it took off on its own and ran nicely for the better part of a half hour. It's always gratifying to take something that's non-functional and make it useful again.
The movie (If the movie doesn't work, click here to go directly to youTube.)


Back to Loco of the Month home page
Back to Sidestreet Bannerworks home page
This page and its contents
Copyright Sidestreet Bannerworks, 2009
.